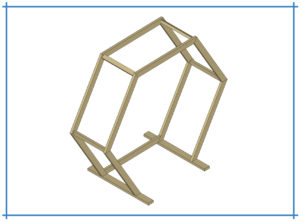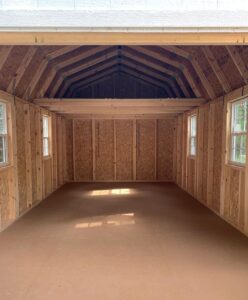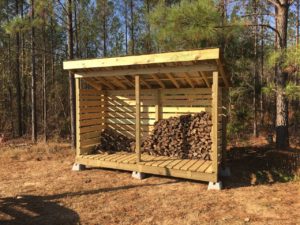
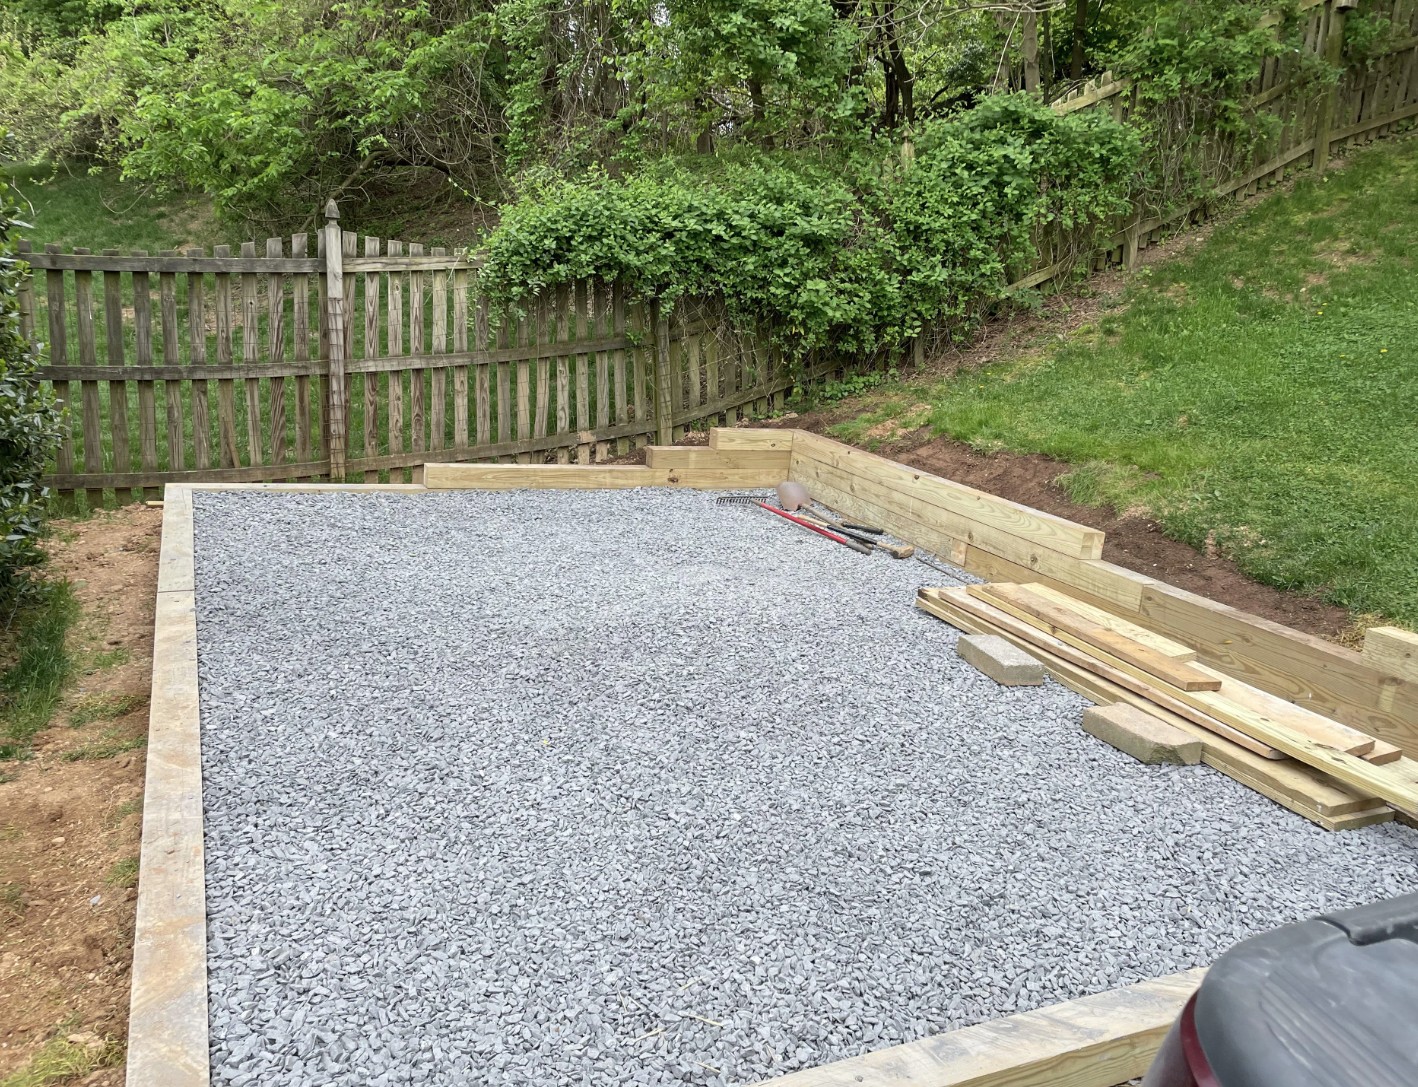
A gravel pad is the most common shed foundation for a reason. It costs less than any other option, takes a few hours to install, requires no special tools or concrete work, and — when built correctly — keeps your shed level and dry for decades. It is also the foundation type that all of our shed plans are designed around by default. Use our free shed foundation calculator to estimate your shed foundation layout, material quantities, gravel, concrete, piers, deck blocks, and skid foundation materials.
This guide walks through the complete installation process from site selection to setting your final skids, including material quantities, common mistakes, and how to handle ground that isn’t perfectly flat. By the end you’ll know exactly what to buy, in what quantities, and how to install it correctly the first time.
If you haven’t yet decided whether a gravel pad is the right foundation for your specific project, see our shed foundation options guide for a full comparison of gravel pads, concrete blocks, concrete piers, and poured slabs.
What You’ll Need
Materials
- 3/4″ crushed stone (crusher run): The primary gravel layer. Calculate quantity below.
- Landscape fabric: One roll, heavy-duty woven geotextile. Not the thin plastic sheeting — it needs to let water through.
- Pressure-treated 4×4 or 4×6 lumber (skids): Ground-contact rated, UC4A or UC4B. Quantity depends on shed size.
- Marking stakes and string line: For laying out the pad area square.
- Spray paint or flour: For marking the excavation outline on the grass.
Tools
- Flat spade and a round point shovel
- Wheelbarrow
- Hand tamper or plate compactor (rental: $50–$80/day)
- 4-foot level and a long straightedge or level board
- Tape measure
- Circular saw (for cutting skids to length)
- Work gloves
How much gravel do you need?
Calculate your gravel quantity using this formula: pad length (ft) × pad width (ft) × 0.5 ÷ 27 = cubic yards needed. The 0.5 represents a 6-inch depth (0.5 feet), and dividing by 27 converts cubic feet to cubic yards. Add 10% to account for compaction loss.
Common quantities for standard shed sizes at 6 inches deep:
| Pad Size (with border) | For Shed Size | Cubic Yards | Approx. Tons |
|---|---|---|---|
| 10×12 | 8×10 | 2.2 cu yd | 3 tons |
| 12×14 | 10×12 | 3.1 cu yd | 4 tons |
| 14×18 | 12×16 | 4.7 cu yd | 6 tons |
| 18×22 | 16×20 | 7.3 cu yd | 9.5 tons |
Order gravel by the ton from a local landscape supply yard rather than buying bags from a hardware store — bulk delivery is significantly cheaper. For a 10×12 shed, bagged gravel from Home Depot would cost $200–$300 in bags versus $80–$120 delivered in bulk. Call your local landscape supplier, give them your pad dimensions and depth, and ask for delivered 3/4″ crushed stone or crusher run.
How many skids do you need?
Most shed plans call for 3 skids running the length of the shed, spaced evenly across the width. For a 10×12 shed, you need three 10-foot skids (or three 12-foot skids if your plans run skids the other direction — always check your specific plan). For a 12×16, you typically need three 12-foot skids, or you can use shorter lengths and splice them over a mid-point support.
Always buy pressure-treated lumber rated for ground contact — look for the UC4A or UC4B stamp on the end of the board. Standard green pressure-treated lumber rated UC3B is for above-ground use only and will rot significantly faster in contact with soil or gravel.
Step 1: Choose and Prepare Your Site
Site selection matters more than most first-time builders realize. The ideal location for a gravel pad foundation has three characteristics: it is reasonably level (less than 6–8 inches of grade change across the pad footprint), it drains away from the pad after rain rather than collecting water, and it is far enough from trees that roots won’t eventually heave the foundation or shed debris onto the roof.
Check the grade across your intended site by setting a long level board or a string line stretched between two stakes and measuring the gap between the string and the ground at multiple points. If you have more than 8 inches of grade change across the footprint, a gravel pad may not be your best option — concrete deck blocks, which can be individually adjusted for height, handle sloped sites better. See our foundation comparison guide for detail on when to choose blocks over a gravel pad.
Also confirm your setback compliance before you do any site prep. Most counties require a minimum of 5–10 feet from the rear property line and 3–5 feet from side property lines. Measure from your actual property line — not from your fence, which may be a foot or two inside the boundary. See our permit and setback guide for specifics.
Step 2: Mark the Pad Area
The pad should extend 12 inches beyond the shed footprint on all sides. This border serves two purposes: it gives you room to work around the shed during construction, and it keeps water splash-back away from the bottom of the siding. For a 10×12 shed, mark a 12×14 pad. For a 12×16, mark a 14×18 pad.
Mark the pad outline accurately — a pad that is out of square will make it harder to level your skids and square your floor frame later. Use the 3-4-5 method to confirm square corners:
- Drive a stake at one corner. Measure 3 feet along one side and mark it. Measure 4 feet along the adjacent side and mark it.
- If the diagonal between your two marks is exactly 5 feet, the corner is square. If not, adjust the stake position until it is.
- Repeat for all four corners, then run a string line around all four stakes to define the full perimeter.
- Spray paint or pour flour along the string line to mark the excavation boundary on the grass, then remove the strings so they don’t interfere with digging.
Step 3: Excavate the Pad Area
Excavate the marked area to a depth of 6 inches below the existing grade. Remove all sod, topsoil, and organic material. Organic material compresses and decomposes over time, which causes the pad surface to settle unevenly — it needs to come out completely.
Dig to a consistent depth across the entire pad area, not just around the perimeter. Use a level board or string line stretched across the excavation to check depth at multiple interior points. The goal is a flat excavation with a consistent 6-inch depth — low spots will become soft spots in the gravel base after compaction.
Pile the excavated soil well away from the pad edges. You may need some of it later to backfill around the pad perimeter, but keep it away from the working area during installation.
One practical note: if your excavation reveals soft, wet, or highly organic soil at the 6-inch depth, excavate another 2–4 inches and add compacted fill before continuing. Building a gravel pad over soft or organic subsoil is one of the primary causes of pad settlement and foundation problems down the road.
Step 4: Install Landscape Fabric
Lay heavy-duty woven landscape fabric over the entire excavated area, running it up the sides of the excavation by 2–3 inches. Overlap any seams by at least 6 inches. Secure the fabric temporarily with a few landscape staples or small rocks to keep it from shifting while you add gravel.
Use woven geotextile landscape fabric — not the thin plastic sheeting sold in hardware stores as a vapor barrier. The woven fabric allows water to drain through freely while blocking weed growth. Plastic sheeting traps water under the gravel, which is the opposite of what you want. If the label doesn’t say “woven geotextile” or “permeable,” it’s the wrong product.
Landscape fabric is sometimes debated among experienced builders — some skip it entirely and rely on the gravel depth to suppress weeds. It is worth including. Weeds growing up through a gravel pad will eventually disturb the surface and can even push against the shed’s floor frame over time. The fabric costs very little and takes ten minutes to install.
Step 5: Add and Compact the Gravel
This is the most labor-intensive step and the one that determines how well your foundation performs over time. Do not rush it.
Add gravel in 2-inch lifts, compacting each layer thoroughly before adding the next. Dumping all the gravel in at once and compacting the top surface is not the same thing — the bottom layers don’t get adequately compacted, and they will settle after the shed is built and loaded. Two-inch lifts take more time but produce a foundation that stays level.
For compaction, a hand tamper works for small pads (under 8×8). For anything larger, rent a plate compactor — it does the job faster and produces significantly better compaction than a hand tamper can achieve. A plate compactor for a half day runs $50–$80 at most equipment rental shops and is worth every dollar on a foundation that your shed will sit on for decades.
Work in overlapping passes with the plate compactor, covering the full pad area in each pass. Make at least two full passes over the final gravel layer. After compaction, your 6-inch depth of loose gravel will compact down to approximately 4.5–5 inches — this is normal and expected.
Check the compacted surface for level frequently as you work. Drag a long straightedge or level board across the surface to identify high and low spots. Rake high spots down and add a small amount of additional gravel to low spots, then re-compact. The goal is a surface that is flat and level within 1/4 inch across the full pad area.
Step 6: Set and Level the Skids
This step determines whether your floor frame goes together squarely and your shed door hangs straight. Take your time here — it is much easier to adjust a skid before the floor frame is built than after.
Skid placement
Check your specific shed plan for skid placement — spacing and orientation vary by plan. For most plans, three skids run parallel to each other across the width of the shed, spaced evenly. The outer two skids sit just inside the outer edges of the pad, and the center skid sits at the midpoint. The floor joists run perpendicular to the skids.
Cut your pressure-treated skids to length before placing them. Use a circular saw with a carbide blade — pressure-treated lumber dulls blades faster than standard lumber. Wear gloves and eye protection, and wash your hands after handling pressure-treated wood.
Leveling the skids
Place all three skids in their approximate positions on the gravel surface. Set a 4-foot level on top of each skid individually and check that each one is level along its length. Then set a long level board across all three skids perpendicular to their length and check that all three tops are in the same horizontal plane — this is called being “in plane” and is just as important as each individual skid being level.
Adjust skid height by adding or removing gravel beneath them. For small adjustments, use a pry bar to lift the skid slightly and add or remove a handful of gravel. For larger adjustments, move the skid aside, add or rake gravel, re-compact lightly, and reset the skid. Re-check level after every adjustment.
The standard tolerance for skid leveling is 1/4 inch across the full floor frame. This sounds tight, but it matters — a floor frame that is more than 1/4 inch out of level will cause doors to bind, walls to lean, and roof lines to run out of true. Take whatever time is needed to get within tolerance before moving on.
A faster leveling method for longer skids
For skids longer than 8 feet, individual leveling with a 4-foot level becomes tedious. A faster approach: stretch a taut string line at the correct height at each end of the skid position and use the string as a reference for the full skid length. Set the string height using a line level (a small level that clips to the string), then adjust each skid until its top surface just touches or is consistently 1/4 inch below the string line at all points.
Step 7: Check for Square
Before you begin floor framing, confirm that your skid layout is square. An out-of-square skid layout will carry through to the floor frame, wall frames, and ultimately to the finished shed — it is much easier to correct at this stage than later.
Measure the diagonal distance from one end of the outer skid to the opposite end of the other outer skid. Then measure the other diagonal. If the two measurements are equal, your layout is square. If they differ by more than 1/4 inch, adjust the skid positions slightly until the diagonals match.
For a 10×12 shed with 10-foot skids set 12 feet apart, the diagonal measurement should be approximately 15 feet 7.5 inches. You can calculate the correct diagonal for any rectangle using the Pythagorean theorem: diagonal = √(length² + width²).
Common Mistakes to Avoid
Using the wrong type of gravel. Pea gravel and river rock are round and do not compact — they shift under load and are not suitable for a shed foundation base. Always use angular crushed stone (3/4″ crusher run or road base). The angular edges lock together when compacted and stay put under load.
Not compacting in lifts. Adding all the gravel at once and tamping the top is the single most common gravel pad mistake. The bottom layers never get compacted, and they settle after the shed is loaded. Two-inch lifts with compaction between each layer takes more time but produces a pad that lasts.
Using standard pressure-treated lumber for skids. Lumber marked “above ground use” or UC3B will rot in contact with soil or gravel within a few years. Skids must be ground-contact rated — UC4A or UC4B. Check the end stamp before buying.
Skipping the landscape fabric. Weeds growing through a gravel pad are a nuisance at best and a foundation problem at worst. Fabric takes minutes to install and is inexpensive. Include it.
Not extending the pad beyond the shed footprint. A pad that ends at the shed wall has no border protection. Rain running off the roof overhang hits soil immediately adjacent to the shed, splashes against the siding, and accelerates rot at the base of the walls. Extend the pad at least 12 inches beyond the shed on all sides.
Rushing the skid leveling step. Every subsequent stage of the build — floor decking, wall framing, roof framing — inherits whatever error exists in the skid level. A 1-inch out-of-level skid produces a 1-inch out-of-level floor frame, which makes wall framing difficult, door hanging imprecise, and the finished shed visually obvious to anyone who looks at it. Level the skids within 1/4 inch before moving on.
Building on poorly draining ground without addressing drainage first. A gravel pad built in a low spot that collects water will perform poorly no matter how well it’s constructed. If your preferred site collects standing water after rain, either choose a different location or address the drainage first by grading the surrounding area to direct water away from the pad perimeter before you excavate.
Maintaining Your Gravel Pad Over Time
A properly built gravel pad requires almost no maintenance. There are two things worth doing every few years to keep the foundation performing well.
Re-level the skids if needed. In regions with significant freeze-thaw cycles, skids may shift slightly over winter. Check skid level in early spring each year for the first few years. If a skid has moved more than 1/4 inch, lift it with a pry bar, add or remove gravel to adjust, and reset. This is a 15-minute job.
Top-dress the gravel perimeter. The gravel border around the shed will compact and spread slightly over time. Every 3–5 years, add a thin top-dressing layer of fresh crushed stone to the border area and tamp it level. This keeps the splash-back protection working and the pad looking clean.
Frequently Asked Questions
How deep should a gravel pad be for a shed?
A gravel pad for a shed should be 4 to 6 inches deep after compaction. Four inches is the minimum — it provides adequate drainage and weed suppression for most sites. Six inches is preferred for larger sheds, cold climates with significant freeze-thaw activity, or sites where the subsoil is softer than average. In no case should you build a gravel pad less than 4 inches deep — less than this and the pad will not drain effectively or stay level under load.
What type of gravel is best for a shed foundation?
Use 3/4″ crushed stone, also called crusher run, road base, or dense grade aggregate depending on your region. It is angular rather than round, which means it compacts and locks together under load rather than shifting. Do not use pea gravel, river rock, or pea stone as the structural base — these are round and do not compact. They are suitable only as a decorative top-dressing layer over a compacted crushed stone base.
Do I need landscape fabric under shed gravel?
Yes, for most installations. Woven geotextile landscape fabric prevents weeds from growing up through the gravel pad and helps maintain the separation between the gravel layer and the subsoil beneath. Use heavy-duty woven geotextile fabric, not thin plastic sheeting. The fabric should be permeable — it needs to let water drain through, not trap it.
Can I build a shed on a gravel pad without skids?
Technically you can set a floor frame directly on a gravel pad without skids, but it’s not recommended. Skids distribute the floor frame’s load evenly across the gravel surface, elevate the floor joists slightly above the gravel for better airflow and drainage, and make it easier to level the floor frame. They add minimal cost relative to the protection they provide. All of our shed plans include pressure-treated skids as part of the floor frame design.
How long will a gravel pad last?
A properly built gravel pad — installed on stable subsoil with adequate compaction and the correct gravel type — will outlast the shed sitting on it. The gravel itself doesn’t degrade. The only maintenance required is occasional re-leveling of skids after freeze-thaw cycles and top-dressing the gravel border every few years. A 20-year-old shed on a well-built gravel pad will typically still have a level, functional foundation.
How do I keep my shed level on a gravel pad over time?
In cold climates, check skid level in early spring each year for the first 3–5 years after installation. Freeze-thaw cycles can cause minor shifts — the skids can be re-leveled quickly with a pry bar and a handful of gravel. Once the gravel has been through several freeze-thaw seasons and is well-settled, annual checks become unnecessary and the foundation will be stable year-round.
Ready to Start Building?
Once your gravel pad is level and your skids are set, the next step is building the floor frame — and every plan on this site picks up right there, with complete floor framing plans, wall framing plans, roof framing plans, and step-by-step instructions through to the finished shed.